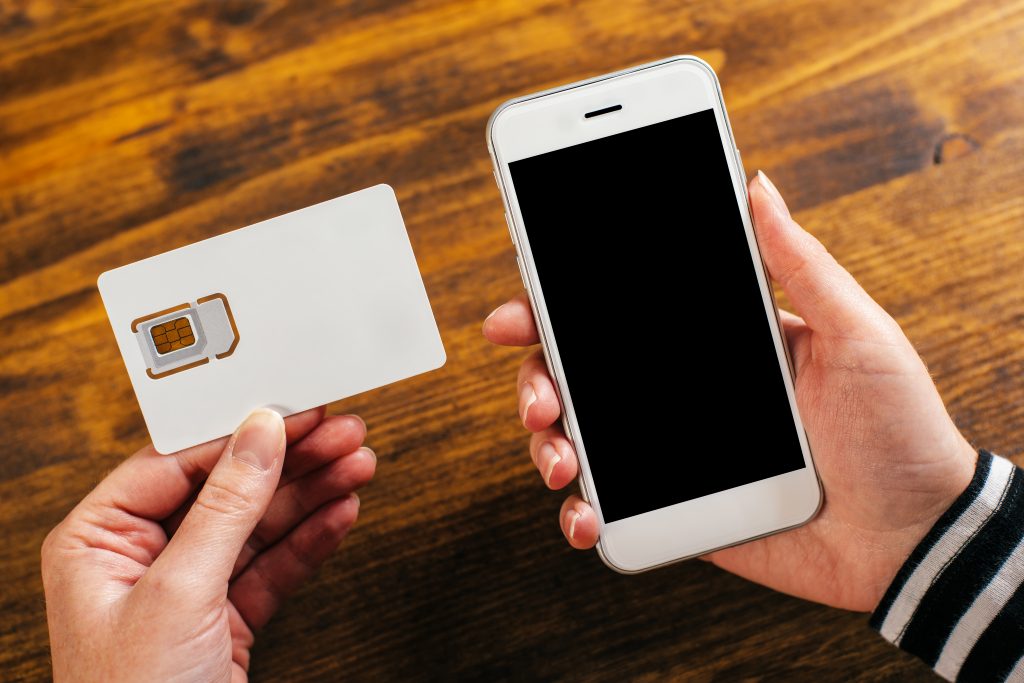
If you’re planning a trip to Japan and want to skip the hassle of airport SIM card kiosks with their tourist markup prices, learning to buy Esim for Japan online beforehand will save you time and probably money. The whole process takes maybe ten minutes from start to finish, and you can do it weeks before your flight. Unlike physical SIM cards that you need to physically obtain somewhere, an Esim gets delivered digitally to your email, which means you can set everything up from wherever you are right now.
Checking If Your Phone Actually Supports Esim
Before spending money on anything, confirm your device can use Esim technology. This trips up more people than you’d think. Newer iPhones from the XS generation forward (that’s fall 2018 and later) have Esim capability built in. Most flagship Android phones from 2019 onward support it—Samsung Galaxy S20 and newer, Google Pixel 3 and up, recent Huawei models outside the US market.
On iPhone, open Settings, tap Cellular or Mobile Data, and look for an option saying “Add Cellular Plan” or “Add Esim.” If you see it, you’re good. Android users can dial star-hashtag-zero-six-hashtag (written out because formatting) and look for an EID number in the device information screen. That EID proves your phone has Esim hardware.
Also critical—your phone needs to be carrier-unlocked. Even if you own your phone outright, many carriers keep it locked to their network until you specifically request unlocking. Call your carrier and make sure the device is fully unlocked for international use. This usually takes a day or two to process, so handle it before your trip.
Finding a Reliable Esim Provider for Japan
Not all Esim sellers are created equal, and Japan specifically has some quirks in how networks operate. You want a provider that partners directly with major Japanese carriers—preferably NTT Docomo or SoftBank, which have the best coverage nationwide. Some providers clearly state which network they use. Others are vague, which usually means they’re using a third-tier MVNO that might have coverage gaps.
Read actual user reviews, not just the testimonials on the company’s website. Look for feedback from people who traveled to areas similar to where you’re going. Someone who used the Esim successfully in Tokyo doesn’t guarantee it’ll work well if you’re visiting rural Kyushu. Coverage maps can help but take them with skepticism—carriers tend to be optimistic about their reach.
Price-wise, expect to pay somewhere between fifteen and forty dollars for a week to two-week plan with reasonable data. If you find something significantly cheaper, dig into what compromises you’re making. Usually it’s throttled speeds, data caps that kick in quickly, or coverage limited to major cities only.
The Actual Purchase Process Explained
Once you’ve picked a provider, buying the Esim is straightforward. Select your destination (Japan), pick your dates and data amount, and go through checkout. Most companies accept major credit cards and PayPal. Some also take Apple Pay or Google Pay, which speeds things up.
You’ll need to provide an email address because that’s how you receive the Esim details. Within minutes (sometimes seconds for automated systems, occasionally up to an hour for smaller providers), you’ll get an email containing a QR code and installation instructions. Some providers also include manual setup codes in case the QR scanning doesn’t work for whatever reason.
Download and save that email somewhere accessible offline, just in case. Screenshot the QR code or forward the email to another account as backup. If something goes wrong with your phone while traveling, having redundant access to your Esim details can save you a lot of headache.
Installing the Esim Profile on Your Phone
This part feels technical but it’s genuinely simple. On iPhone, go to Settings then Cellular or Mobile Data, tap Add Cellular Plan, and your camera will activate to scan QR codes. Point it at the QR code from your email. The phone reads it and asks you to confirm adding the plan. Say yes, and it downloads the Esim profile in maybe 30 seconds.
Android varies slightly by manufacturer but generally you’ll find it under Settings then Network & Internet then Mobile Network, then look for something like Add Carrier or Download Esim. Same process—scan the QR code and confirm.
After installation, the Esim will appear in your cellular settings but won’t be active yet. This is the ideal state. You’ve got it ready to go without triggering activation, which means no days are being wasted while you’re still at home. Most Japan Esims only activate when they first connect to a Japanese network, so you control exactly when your plan starts.
Read More: Buying an eSIM in China: Plans, costs, and trusted providers explained


